Welcome to the website for landscape facilities products and knowledge.

What are the best ways to customize a resin landscape tree box?
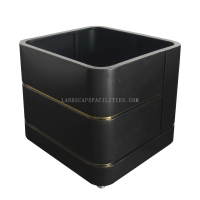
Customizing a resin landscape tree box is a fantastic way to add a personal touch to your garden or home decor. Whether you're a DIY enthusiast or a crafting beginner, these creative techniques will help you design a stunning and unique piece.
1. Choose the Right Resin and Mold: Start with high-quality epoxy resin and a durable mold. Clear resin works best for creating a realistic water effect, while colored resin can mimic soil or rocky textures.
2. Design the Landscape Layout: Sketch your desired landscape before pouring the resin. Incorporate miniature trees, rocks, and faux grass to create depth. Use layers to simulate natural terrain.
3. Add Personalized Details: Customize your tree box with tiny figurines, LED lights, or engraved messages. These small touches make your creation one-of-a-kind.
4. Experiment with Textures: Use tools like toothpicks or airbrushes to create waves, bark textures, or moss effects. Sanding the resin after curing can also add a matte finish.
5. Seal and Protect: Apply a UV-resistant sealant to prevent yellowing and ensure longevity, especially for outdoor displays.
By following these steps, you can craft a breathtaking resin landscape tree box that reflects your creativity and enhances any space. Happy crafting!
Related search:

Recommendation
Abstract art sculpture, stainless steel metal sculpture, large-scale water feature sculpture