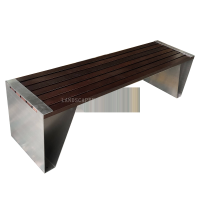
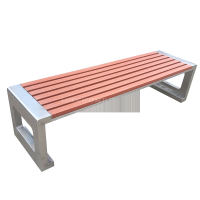
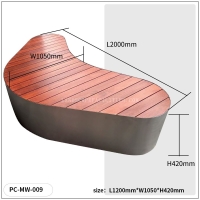
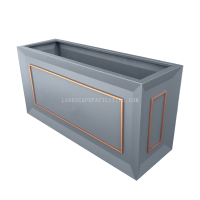
Welcome to the website for landscape facilities products and knowledge.

What is the installation process for the bin, and does it require professional assistance or specialized tools?
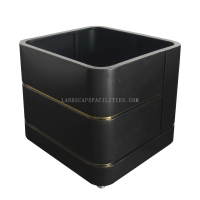
Installing a bin, whether for waste management or storage, is typically a straightforward process that most homeowners can handle independently. The exact steps may vary depending on the type of bin, but here’s a general guide to help you through the installation:
1. Unpack and Inspect: Start by unpacking the bin and checking for any damages or missing parts. Ensure all components, such as lids, wheels, or mounting brackets, are included.
2. Assemble if Required: Some bins, especially larger or wheeled models, may require minor assembly. Follow the manufacturer’s instructions to attach handles, wheels, or lids securely.
3. Choose the Right Location: Place the bin in a convenient yet unobtrusive spot. For outdoor bins, ensure the surface is level and stable. Indoor bins should be placed where they are easily accessible but not in the way.
4. Secure the Bin (if needed): If the bin is meant to be mounted or fixed (e.g., under a sink), use the provided hardware to secure it properly. Basic tools like a screwdriver or drill may be needed.
5. Test Functionality: Open and close the lid, roll the bin (if it has wheels), and ensure everything works smoothly before use.
Do You Need Professional Help or Special Tools?
Most standard bins are designed for DIY installation and don’t require professional assistance. Basic household tools (e.g., screwdriver, wrench) are usually sufficient. However, for specialized bins like commercial-grade waste containers or built-in compost systems, professional installation might be recommended to ensure proper setup and safety.
In summary, installing a bin is generally a simple task that can be done without professional help, but always refer to the manufacturer’s guidelines for specific requirements.
Related search: