Welcome to the website for landscape facilities products and knowledge.

What is the installation process for the landscape pet waste bin, and does it require professional assistance?
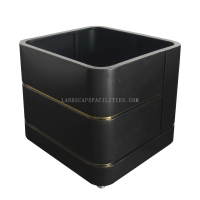
Installing a landscape pet waste bin is a straightforward process that can typically be completed without professional assistance. Here’s a step-by-step guide to help you set it up efficiently:
1. Choose the Right Location: Select a spot in your yard or landscape that is easily accessible for pet owners but away from high-traffic areas. Ensure the ground is level for stability.
2. Prepare the Site: Clear any debris or obstacles from the area. If the bin comes with a mounting kit, mark the spots where you’ll need to dig or anchor it.
3. Assemble the Bin (If Required): Some pet waste bins may require minor assembly, such as attaching a lid or base. Follow the manufacturer’s instructions carefully.
4. Secure the Bin: If the bin is freestanding, place it directly on the ground. For anchored models, use the provided stakes or screws to fix it securely.
5. Add Waste Bags and Signage: Stock the bin with biodegradable waste bags and consider adding a sign to encourage proper use.
Professional assistance is rarely needed unless the installation involves complex landscaping or permanent fixtures. Most pet waste bins are designed for DIY installation, making them a convenient solution for maintaining clean outdoor spaces. Regular maintenance, such as emptying and cleaning the bin, will ensure its longevity and hygiene.
By following these simple steps, you can easily install a landscape pet waste bin and contribute to a cleaner, more pet-friendly environment.
Related search: